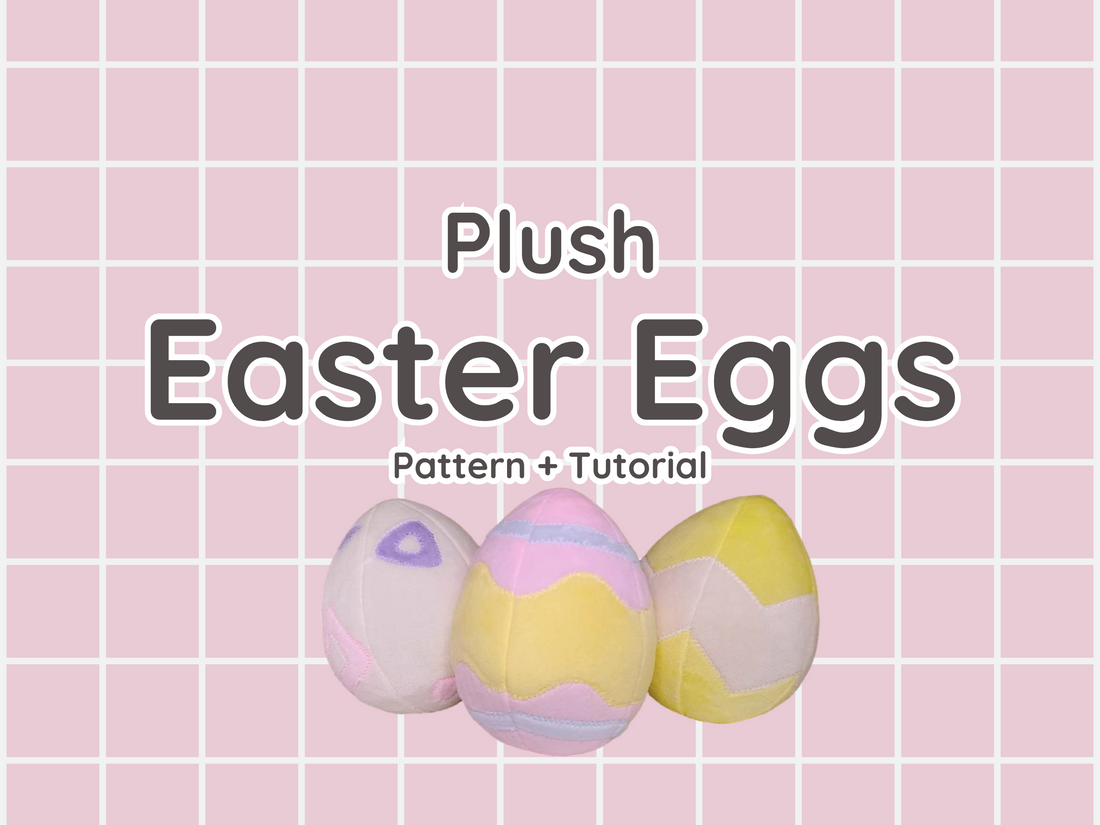
I still have fond memories of dyeing eggs for Easter with my family- especially the way my mom and I would try to one-up last years eggs every time, resulting in increasingly complex and over-the-top projects from melted crayon batik to eggshell candles. I like to think this project is very much in line with that tradition of constant egg-scalation (that's the only egg pun I'm doing today, I promise) by moving out of the medium of eggs entirely!
This is a great project if you have kids around that love stuffed animals- depending on their age and interest in sewing you could have them simply pick out the colors and design for their eggs, or step back and supervise while they do the bulk of the sewing. Unlike the traditional dyed hardboiled eggs, they can keep these ones indefinitely after the hunt!
Let's Make Some Eggs!
For this project you will need:
- About 1/4 yard of your main fabric color
- About 1/8 yard of any secondary colors you want to use
- Matching colored thread
- Polyfil
- Fabric glue
- Fabric scissors
- Hand-sewing needle
A sewing machine is not required, but instructions are given assuming you have access to one. If you'll be hand-sewing, I recommend using a backstitch for the seams and blanket or whip stitch for the applique.
Step 1:
Download the pattern below (it's free!) and print out the appropriate pages. I suggest scaling the pattern down by at least 50% if you're planning on hiding these eggs- the full size makes a fairly large egg, as far as eggs go.
Step 2:
Cut out the primary piece and the markings in your choice of fabric colors. This pattern is designed to be used with minky- you could use other fabrics, but the end result may look a bit different depending on the stretchiness of the fabric.
Step 3:
Lay out the pieces and glue the markings in place using liquid stitch or a similar fabric glue.

Step 4:
(Optional)
Using a loose zig-zag stitch (or whip stitch if working by hand), sew over the edges of the markings as shown in the pattern document. This just makes the markings sturdier and look nicer, so it's technically an optional step. If you're working with younger crafters you may find it preferable to leave it at gluing the markings down- this is easier and less time-consuming, but less "professional"

Step 5:
Sew the pieces together as instructed in the pattern, with a 2" hole in the final seam.

Step 6:
(Optional)
While you don't have to, I do recommend trimming the extra fabric from the seams, particularly if you're scaling the pattern down. This will make the curved edges smoother and keep the seams from looking lumpy.

Step 7:
Flip the egg right-side out through the hole you left in the final seam and stuff with polyfil, then sew up the hole using a ladder stitch


And your egg is done!
Keep in mind that there's nothing saying you have to use the "Easter egg" variation for your Easter eggs- using the other variants in pastel colors will give you a host of fun eggs to hunt down, and you can even make your own designs if you're so inclined! Part of what makes this pattern so fun is how easy it is to customize; you could even use fabric paints or markers, buttons, or ribbons to make your own one-of-a-kind eggs.

Happy crafting!


1 comment
Thanks. I think my grand babies will love these. Can’t wait to start making them.